What’s Cooking at Craft Alliance? – Metalsmithing 1-4
Metalsmithing 1 & 2
In Metalsmithing 1, students learn basic skills to create small metal objects like jewelry. Sawing and filing, texturing and hammering, and, of course, soldering are covered so that all the pieces can be put together to create original works of art.
Metalsmithing 2 is a continuation, where students have the opportunity to sharpen the skills covered in the first course. In addition, more advanced skills are introduced, like stone setting, forming, and other surface treatment techniques.
Teaching artist Meri Ellen Brooks Taylor says, “Metalsmithing has been around for eons, so there’s an infinite amount to learn!”
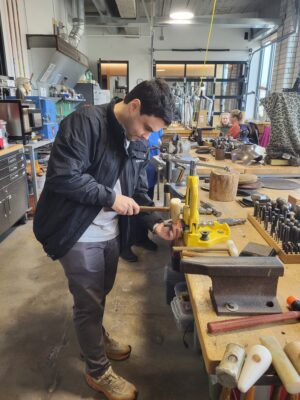
Metalsmithing 3 & 4
In Metalsmithing 3 & 4, students work more independently while learning advanced techniques. Here, teaching artist Cindy Howenstein shows students delft clay moldmaking. A very old technique, delft clay molds were used to reproduce jewelry. Delft clay is packed into a metal can. Then an object is embedded, creating an impression in the clay. Then, a metal like pewter, silver, or gold is melted and poured into the imprint. After a little cleanup and attaching a pin backing or bail for a necklace, voila, a piece of jewelry is formed!
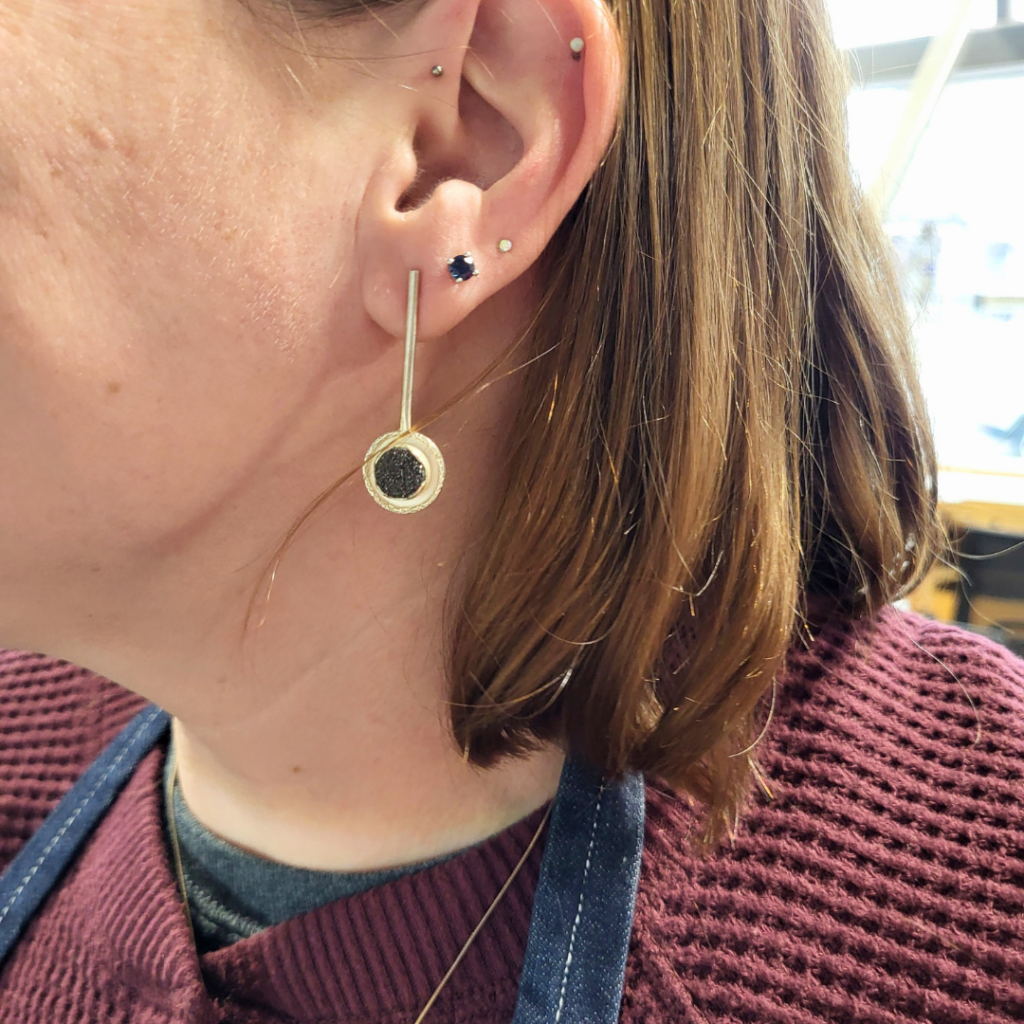
Drop earrings made from black druzy stone, bezel set in a sterling silver filigree mounting
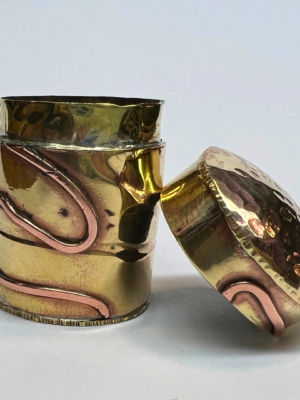
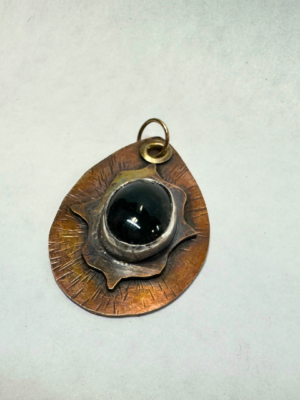
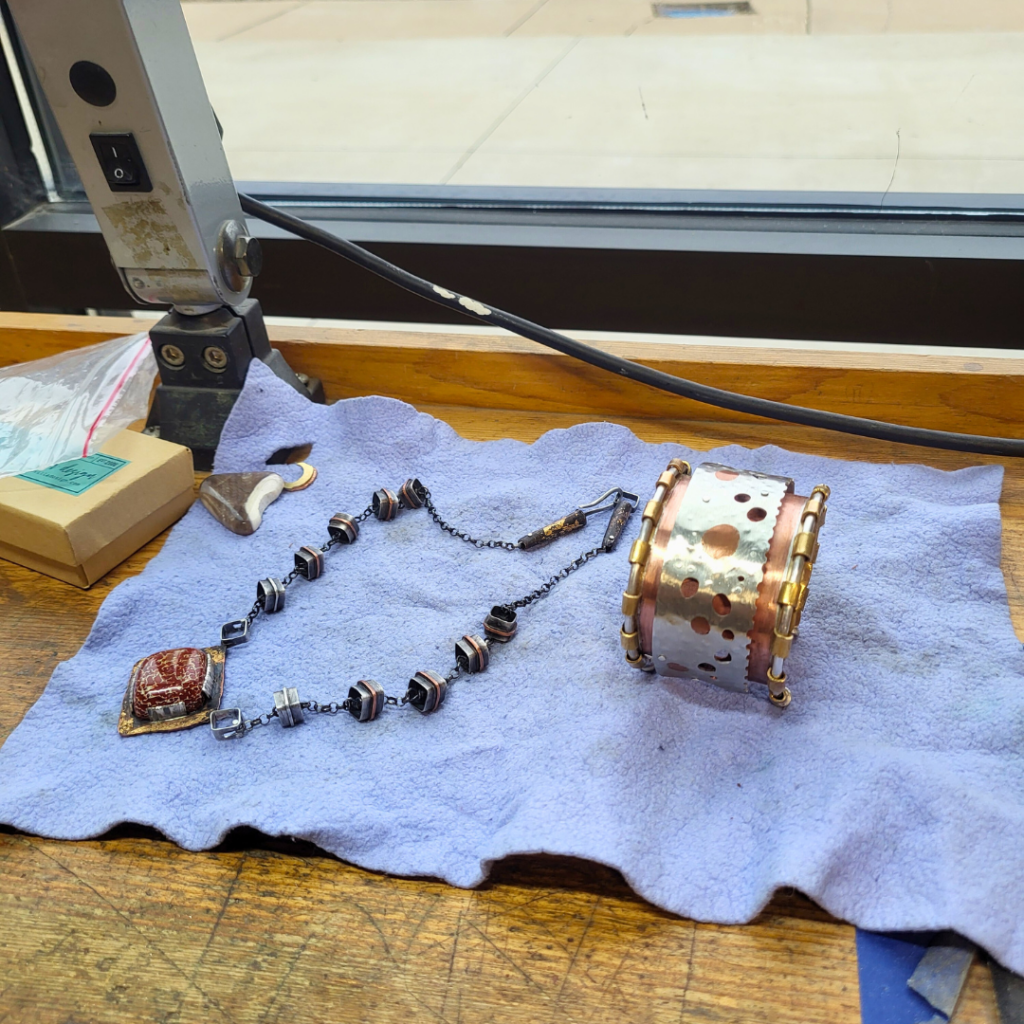
Pendant with a cabochon stone set in sterling silver and 24k gold layered on silver on a handmade chain. A patina was added to blacken some of the silver. // Cuff bracelet made of copper, jeweler’s brass, and sterling silver. Techniques used include punching, drilling, sawing, shaping, and creating raised rivets.
And more!
From casting to enameling to stone setting, our Metals Studio is FIRE! Check out classes here.